Transform Your Space: A Spring Garage Makeover with Epoxy Floors


Why Choose an Epoxy Floor for Your Garage?
Spring is the perfect time to embark on a home improvement project, and one area that often gets overlooked is the garage. Transforming your garage with an epoxy floor can elevate the look and functionality of your space. Epoxy floors are not only visually appealing but also offer numerous practical benefits. They are durable, resistant to stains, and easy to clean, making them a popular choice among homeowners looking to upgrade their garages.
An epoxy floor coating can withstand heavy loads, chemical spills, and abrasions, making it ideal for garages that house vehicles or serve as workshops. Additionally, these floors can be customized with a variety of colors and patterns to suit your personal style and complement the rest of your home.

Preparing Your Garage for an Epoxy Makeover
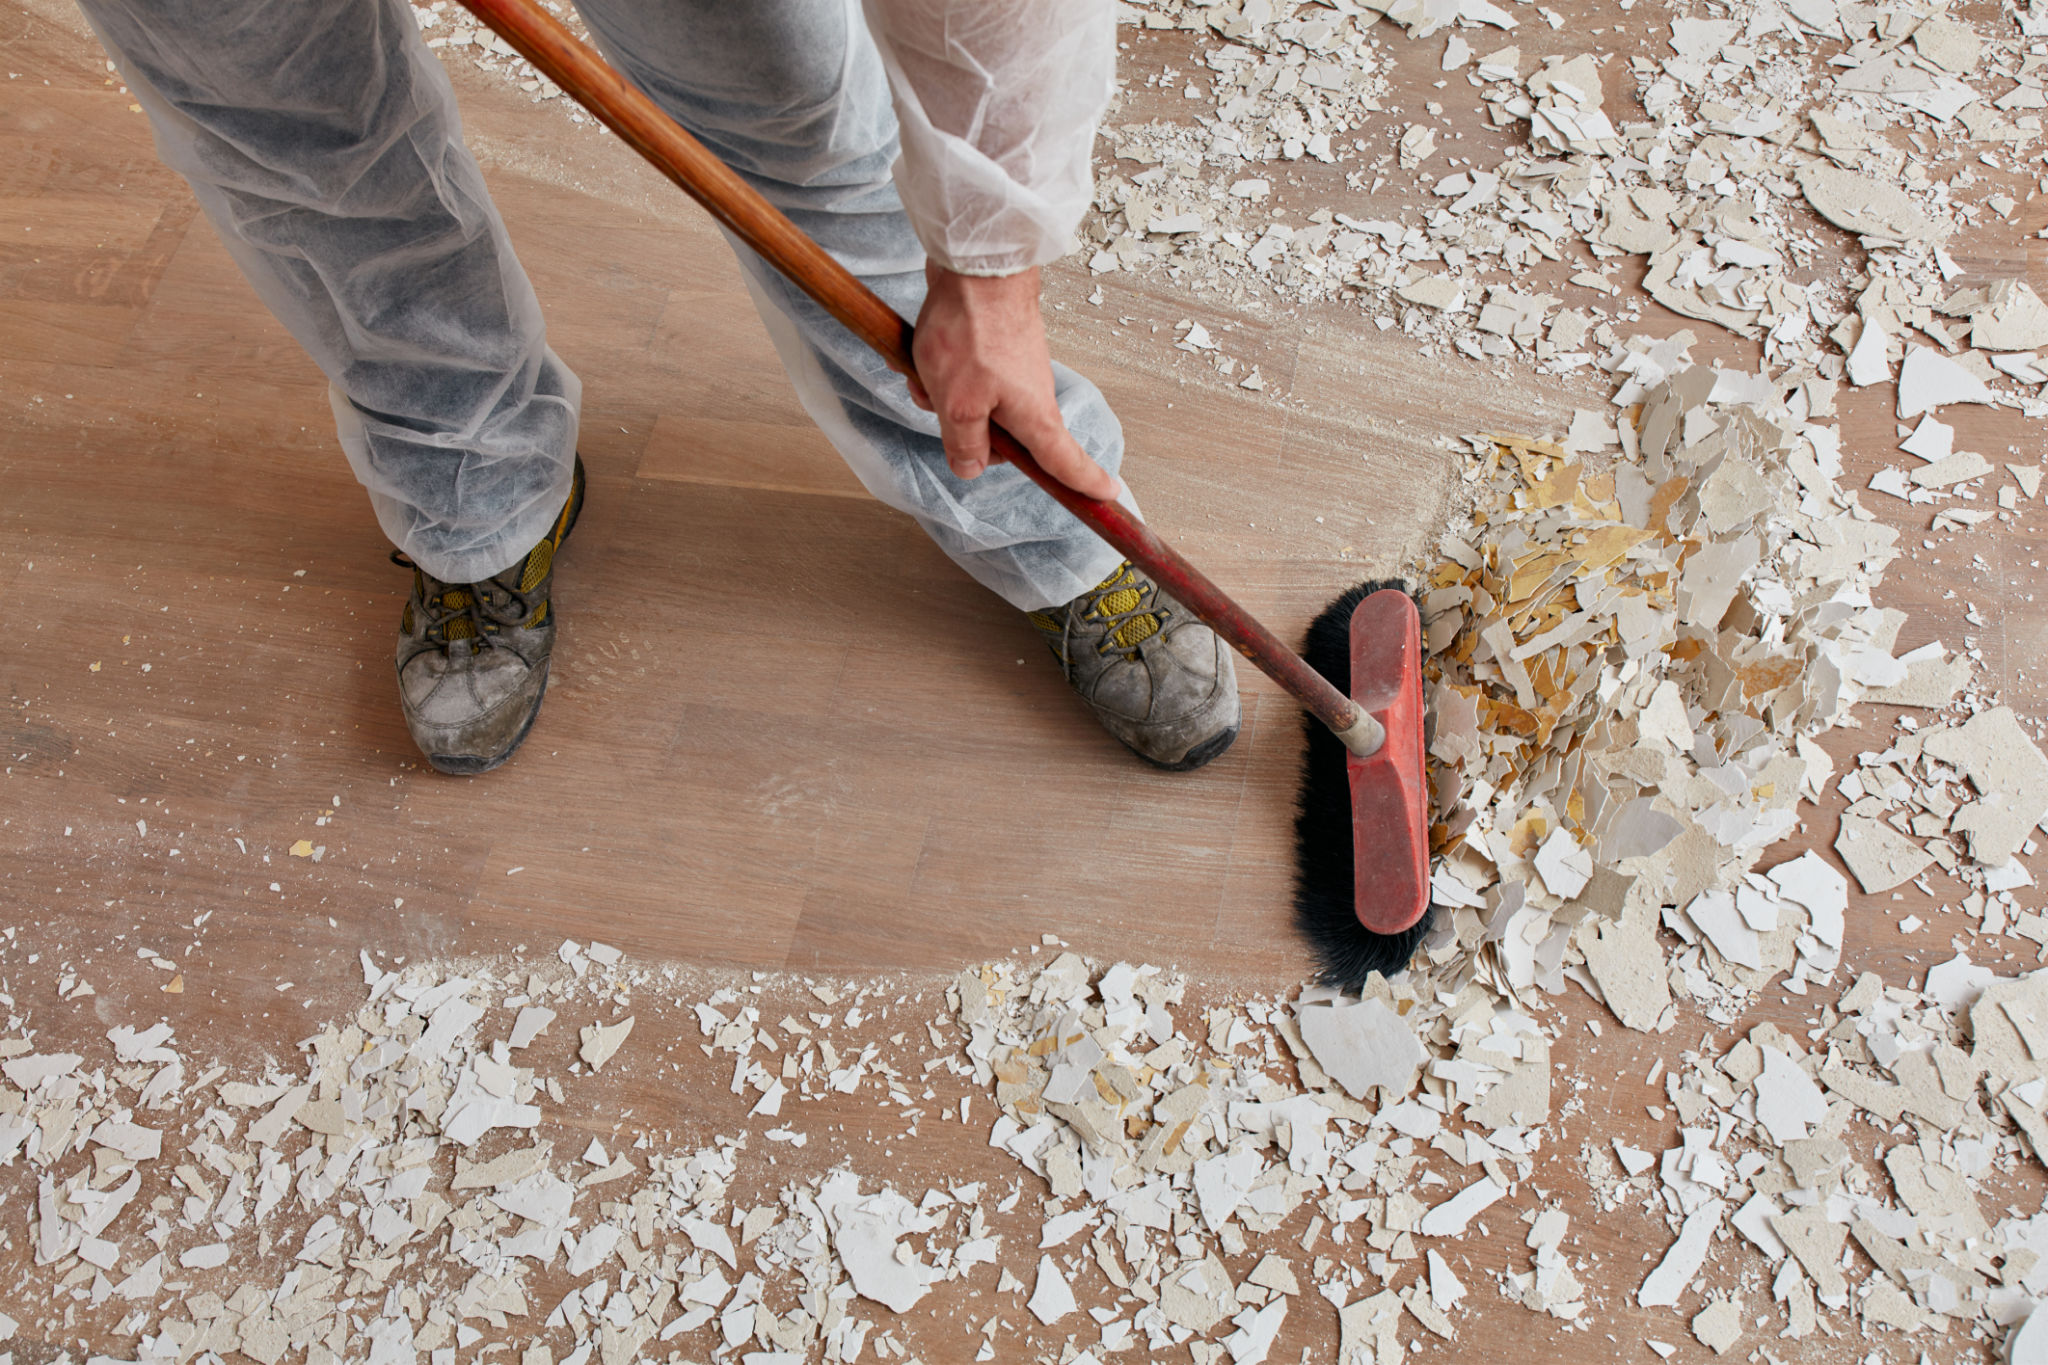
Before applying the epoxy coating, it's crucial to prepare your garage floor properly. The first step is to clear out the garage, removing all items and debris. This will ensure a smooth application process and allow you to assess the condition of the concrete floor beneath.
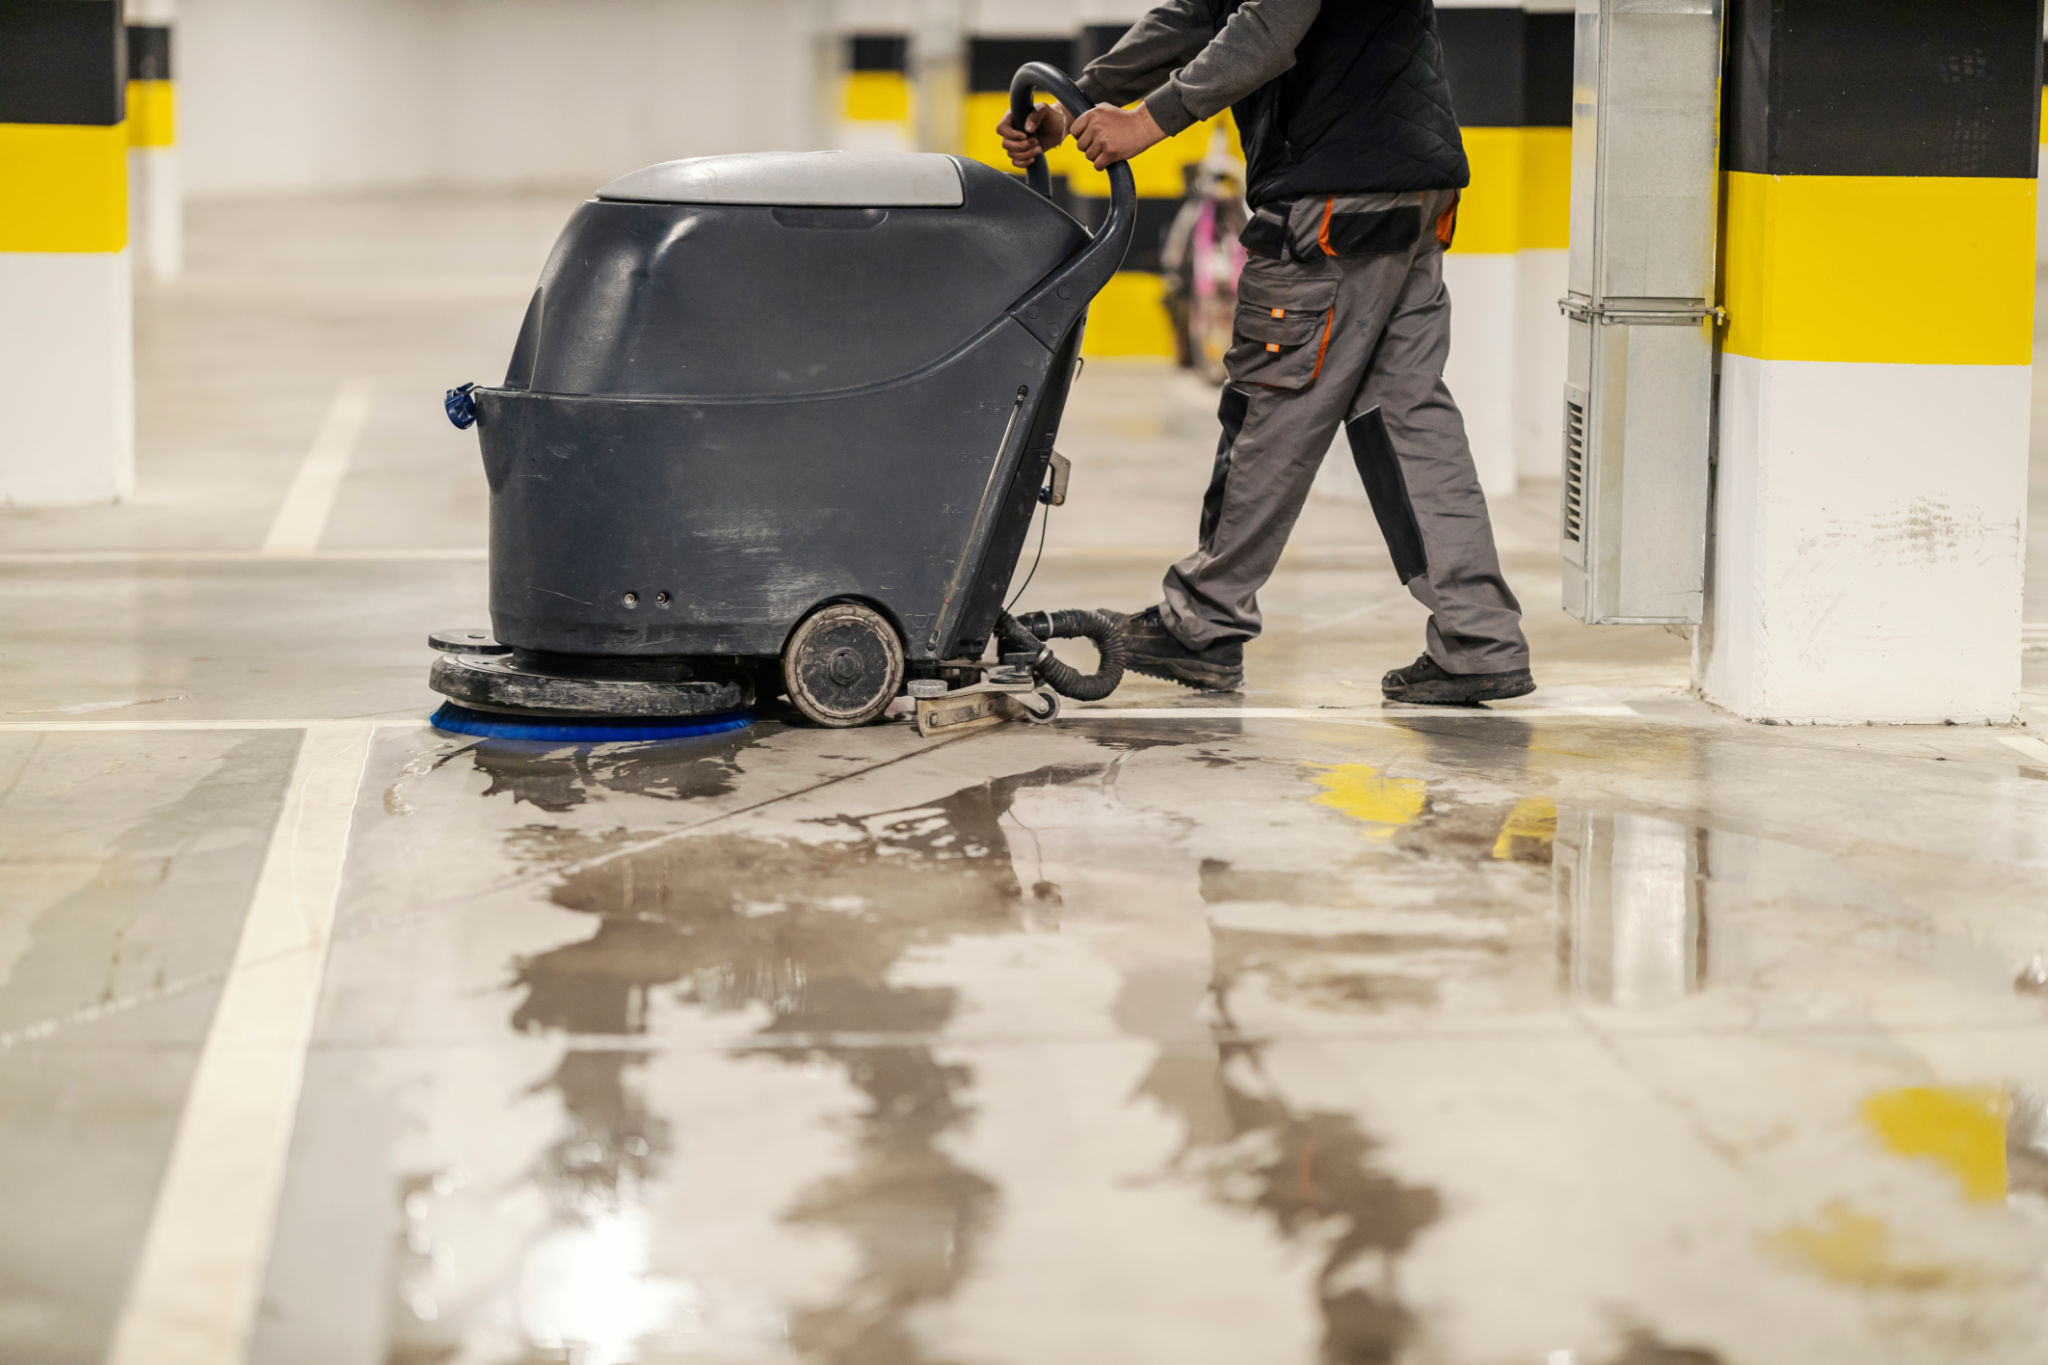
Once cleared, thoroughly clean the floor using a degreaser to remove any oil or grease spots. This is a critical step as any residue can prevent the epoxy from adhering properly. Next, repair any cracks or imperfections in the concrete to create a smooth, even surface.
Steps for Applying Epoxy Flooring
Applying epoxy flooring is a multi-step process that requires attention to detail for optimal results. Here’s a brief overview of the steps involved:
- Etching: Use an acid or etching solution to open up the pores of the concrete, ensuring better adhesion of the epoxy.
- Priming: Apply an epoxy primer to create a strong bond between the concrete and the epoxy coat.
- Mixing: Carefully mix the epoxy resin and hardener according to the manufacturer's instructions.
- Application: Spread the epoxy mixture evenly across the floor using a roller or squeegee, starting from the furthest corner and working your way out.
- Curing: Allow the epoxy to cure as recommended, typically at least 24 hours before walking on it and a week before parking vehicles.
Design Ideas for Your Epoxy Floor
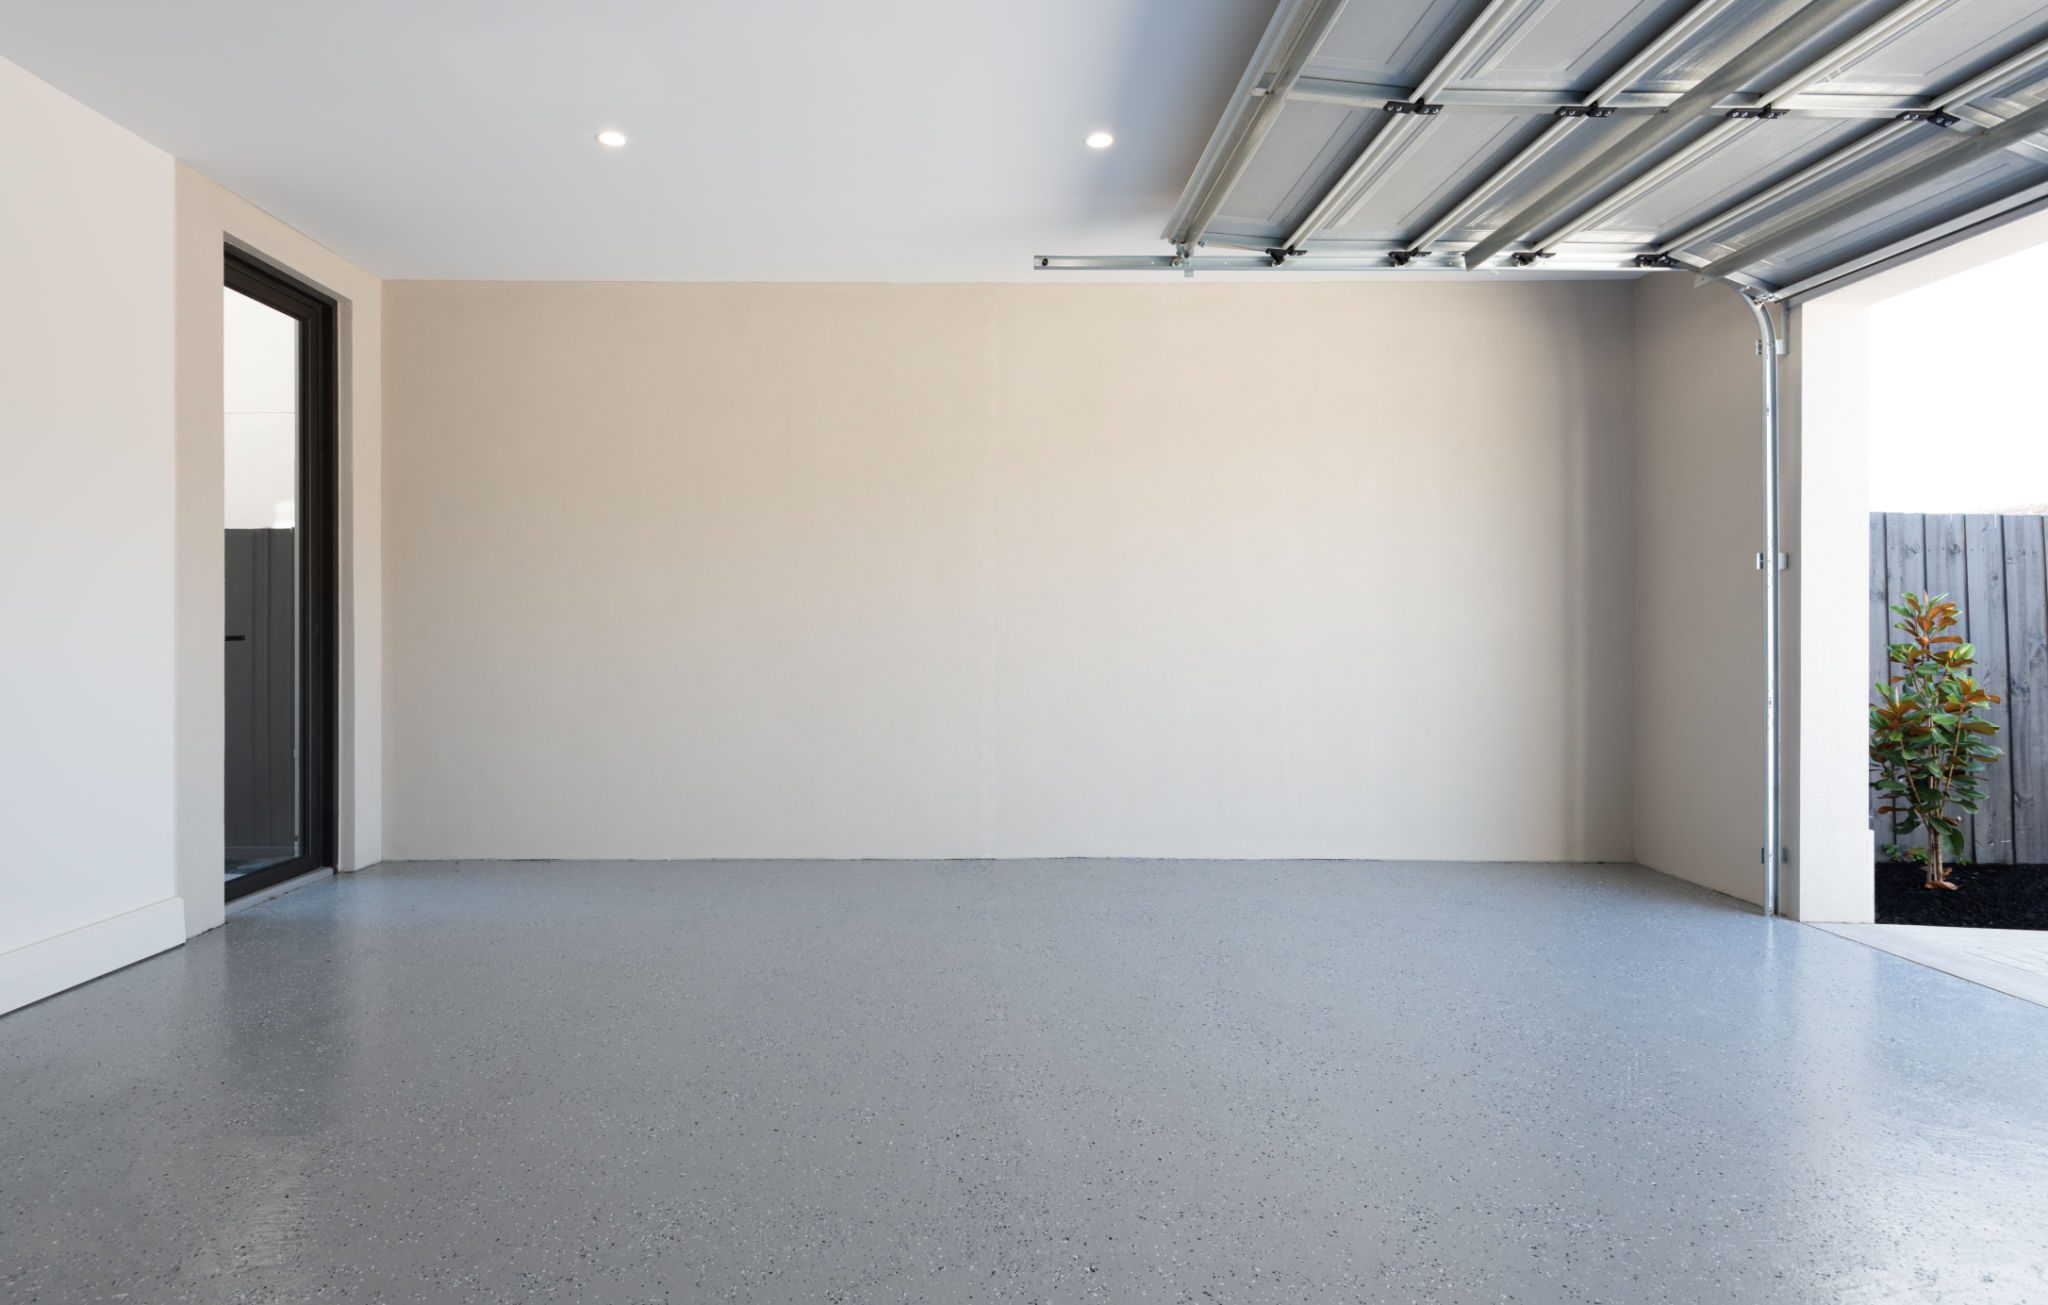
The beauty of epoxy flooring lies in its versatility. You can choose from a wide range of colors and finishes, including glossy, matte, or even metallic effects. For those who prefer a more sophisticated look, consider incorporating decorative chips or flakes into the epoxy for a terrazzo-like appearance.
If you're looking to make a bold statement, opt for bright colors or geometric patterns. The design possibilities are endless, allowing you to create a unique space that reflects your personality and enhances your home's curb appeal.
Maintaining Your New Epoxy Floor
Once your new epoxy floor is installed, maintaining its pristine condition is relatively simple. Regular sweeping and occasional mopping with a mild detergent will keep it looking fresh and clean. It's important to avoid using harsh chemicals or abrasive cleaning tools that could damage the surface.
For tougher stains or spills, promptly clean them with a soft cloth or sponge. With proper care, your epoxy floor can last for many years, providing both aesthetic and functional benefits to your garage space.
Conclusion
A spring garage makeover with epoxy floors not only enhances the appearance of your space but also adds value to your home. The process may require some effort in preparation and application, but the end result is a durable and stylish garage that you'll enjoy using every day.
If you're ready to transform your garage this spring, consider investing in an epoxy floor. Whether you're a DIY enthusiast or prefer hiring professionals, this project is sure to revitalize your space and make it more functional for years to come.